
47.1K
NOTE: ALWAYS verify that one theme is appropriate for your version of Windows.
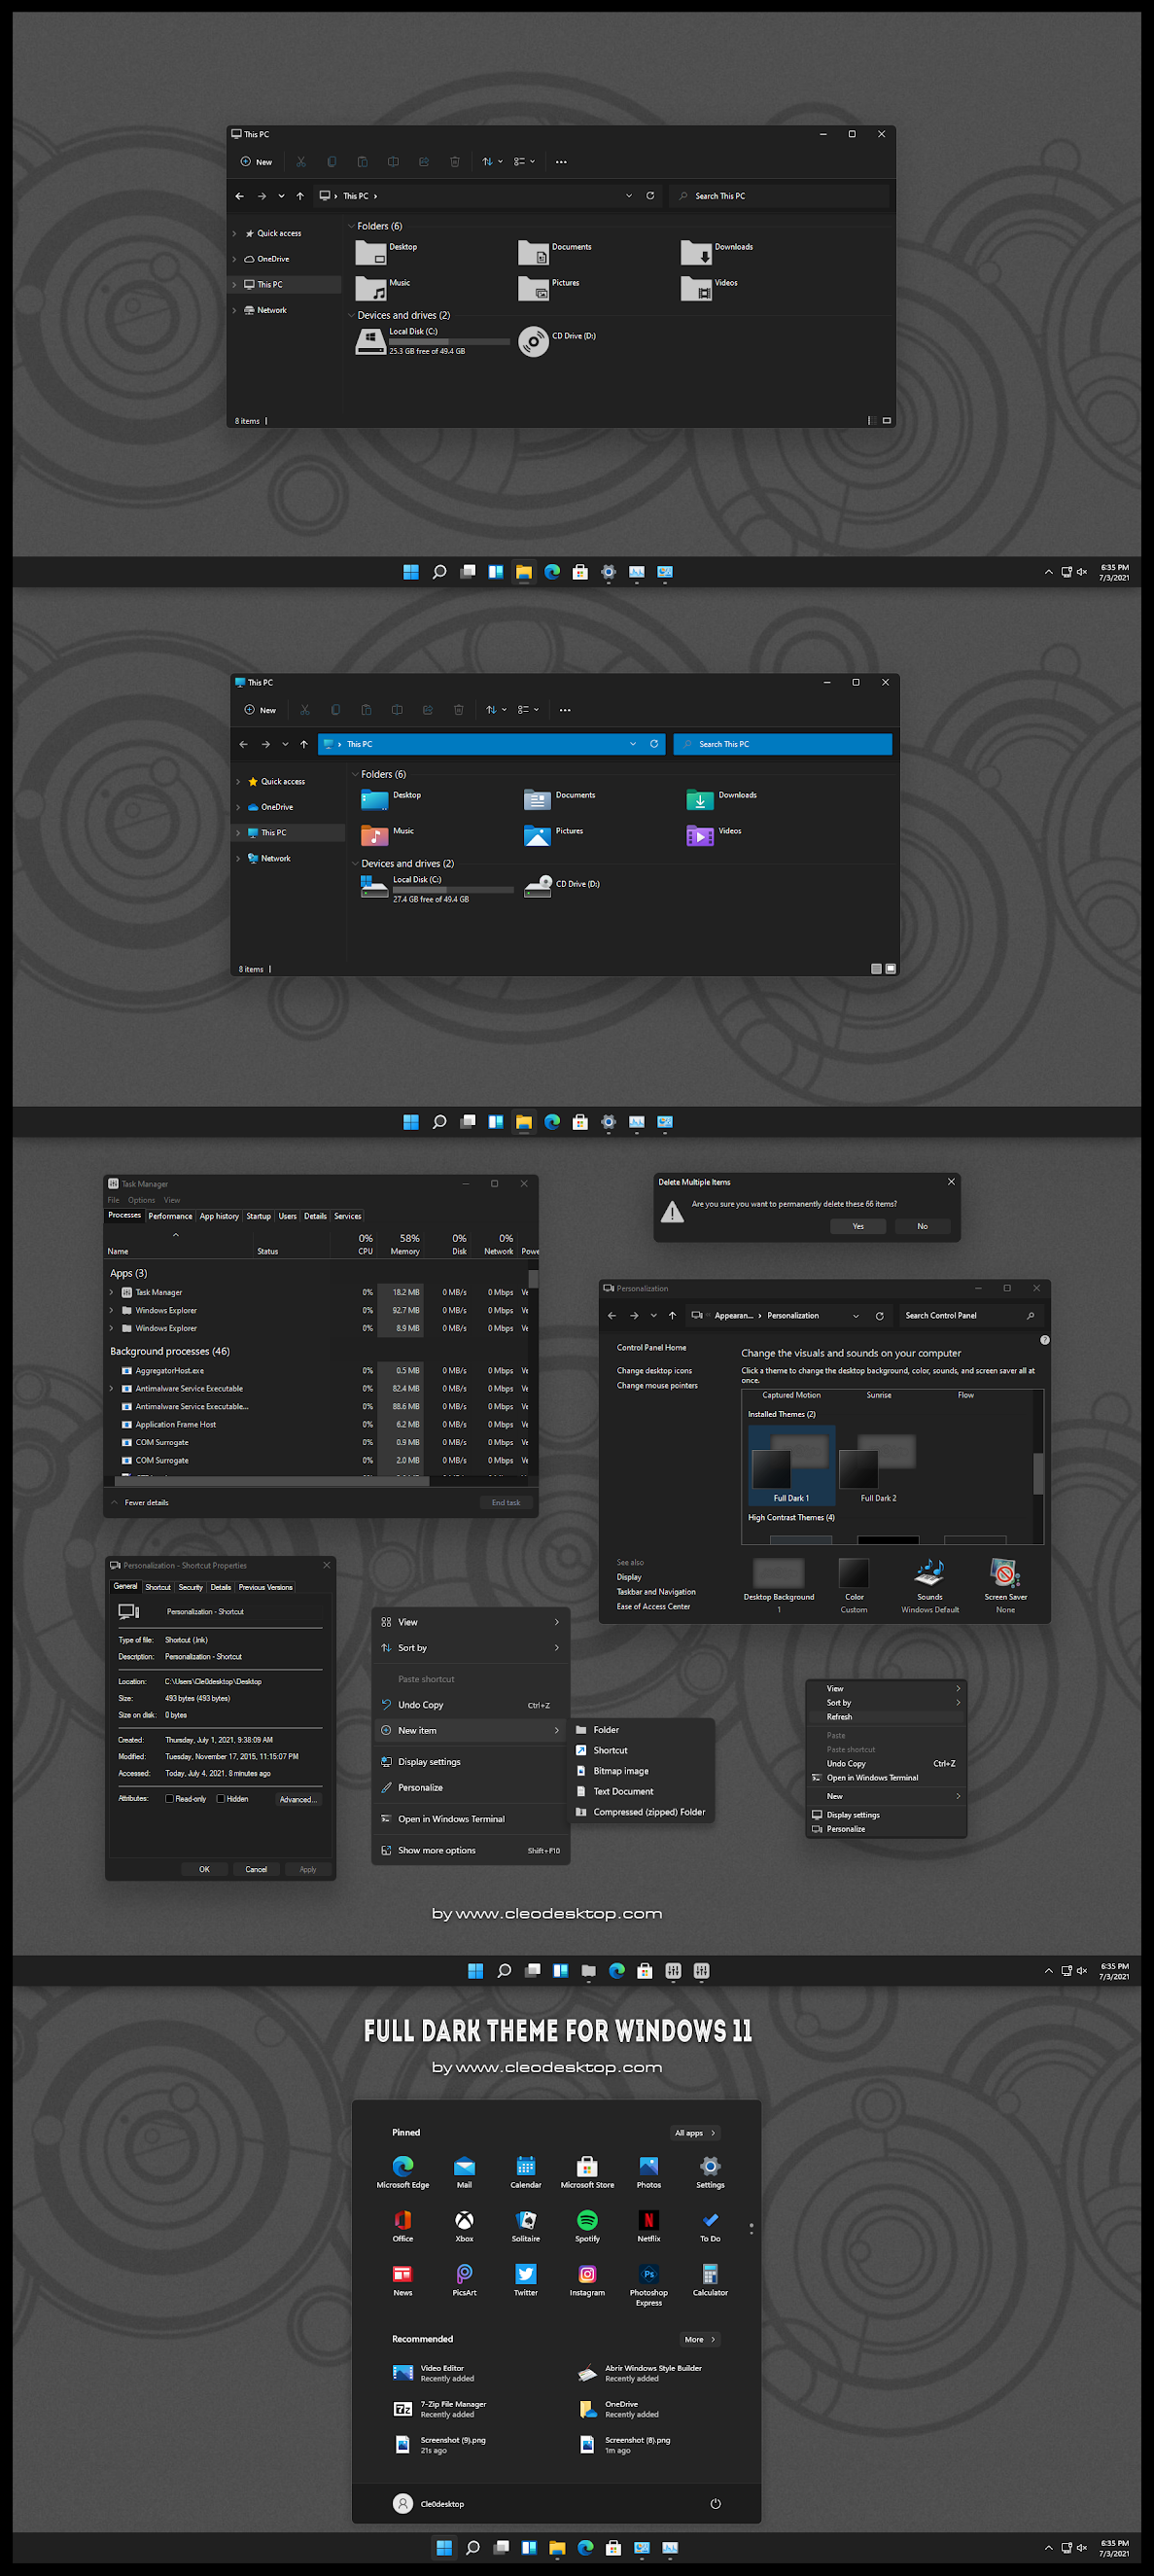
3. Copy all file in “Windows11 24H2 Themes” folder to “%windir%/Resources/Themes“.
4. Mouse right on desktop select “Personalize / Themes” and apply theme. Or double-click to Personalization – Shortcut and apply theme.
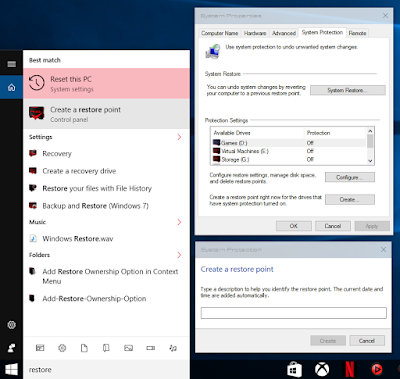
1. Before you do anything, create a System Restore Point – This is important.
The themes on this site are perfectly fine if installed correctly, but mistakes can happen, and you definitely want to have a restore point if needed. Proceed at your own risk, and I do not take responsibility for changes that you make to your system that may cause you problems. Just follow the instructions carefully and you’ll be fine.

– Guide: How to create a system Restore Point
NOTE: ALWAYS verify that one theme is appropriate for your version of Windows.
———————————————-
– For example, you should NEVER use a theme intended for Windows 11 21H2 on Windows 11 22H2.
– The version you are using can be found by searching “winver” when pressing “Windows Key” + “R”
***Please use 7zip for extract [link].
——————————-

2. Run UXThemePatcher administrator and and hit Install.
3. Copy all file in “Windows11 24H2 Themes” folder to “%windir%/Resources/Themes“.
4. Mouse right on desktop select “Personalize / Themes” and apply theme. Or double-click to Personalization – Shortcut and apply theme.
5. For explorer: Install Startallback and setting with guide in folder “. Setup Explorer & Taskbar”
6. Setting micaforeveryone with guide in (. Setup Explorer & Taskbar\Win11 22H2 Important)
7. Setting in folder “. FIX WHITE Color of Inactive Title Bar in Windows11”
==================
Video
How to install Patcher/ Install Theme and Icon Windows11
Video
How to install Patcher/ Install Theme and Icon Windows11
Note: if you change theme so still have white background or theme not change, please contact me [here] I will fix for you.
—————
Credit Author: cleodesktop